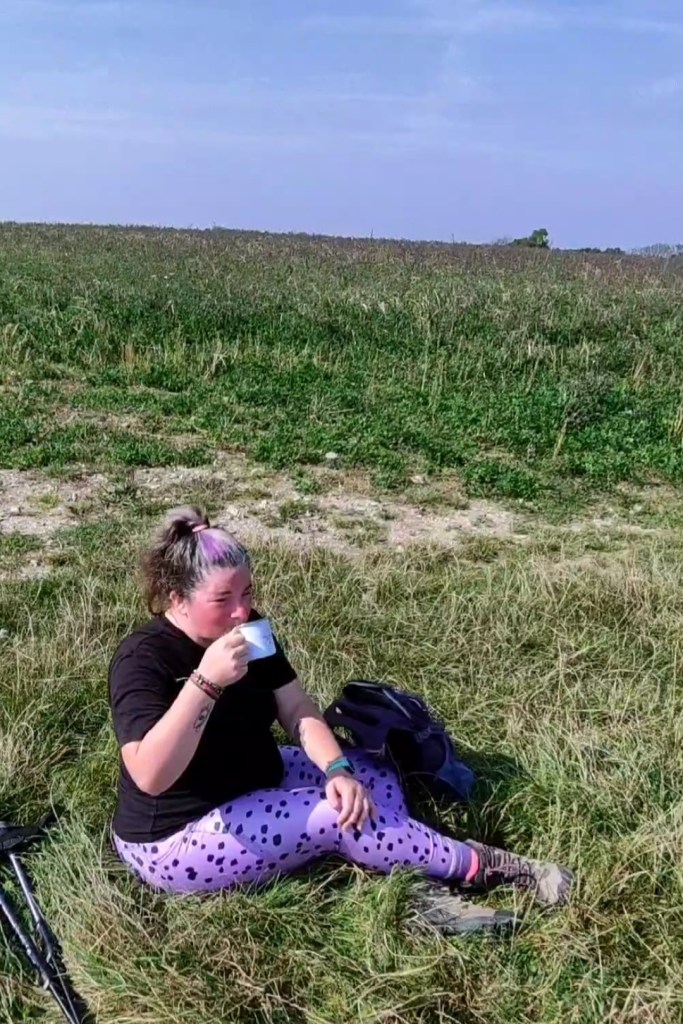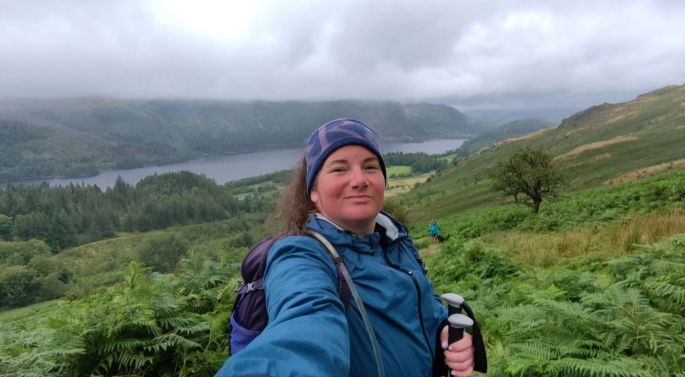
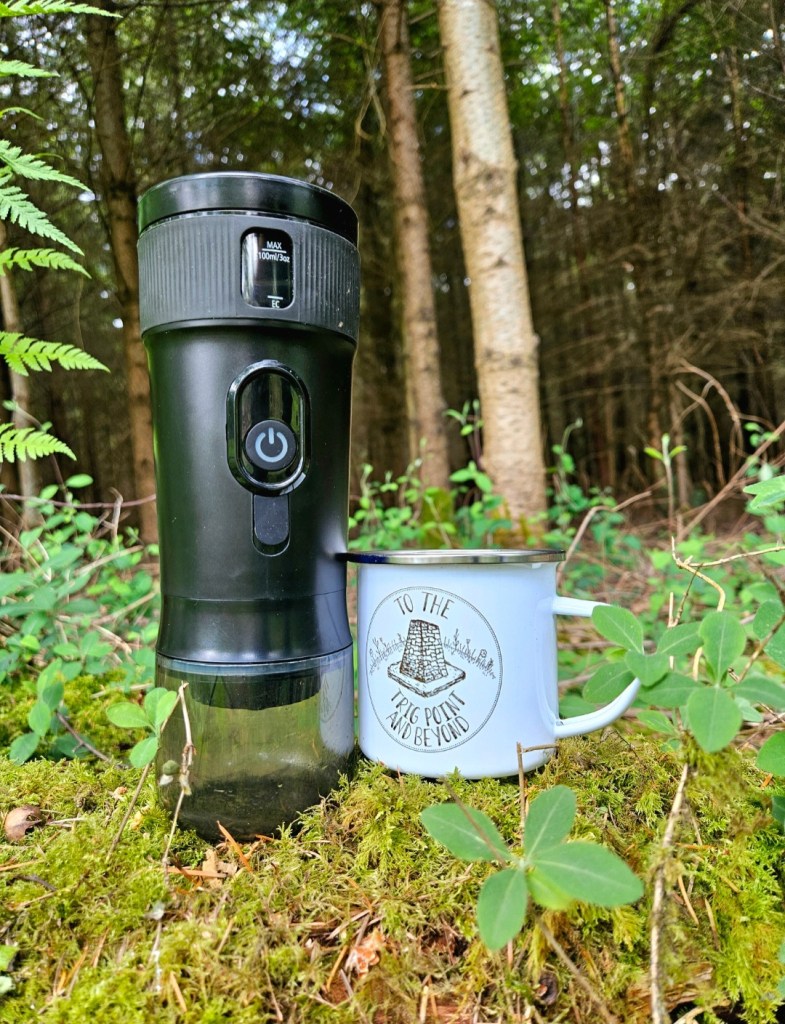
As well as hiking, my other big addiction is coffee. I definitely can’t start my day without a brew (or two!) and there is nothing quite like having a coffee break in the middle of a hike surrounded by the beauty of nature. I’m clearly not alone, as there are plenty of products available for lovers of coffee al fresco, and now you can even freshly brew a cup on the go. Espresso Explorer offer two different types of portable coffee maker; wired and wireless.
Full disclosure: I am an affiliate for Espresso Explorer, and I will make a small commission if you decide to make a purchase through the links on this blog. I have not been paid for this review or asked to write it by Espresso Explorer, and this is fully my own opinion through using both these coffee makers which I was kindly gifted. Both have been tested with ground coffee only.
The Statistics
Portable Coffee Maker
Wireless Coffee Maker
| Portable Espresso Maker | Wireless Espresso Maker | |
| Price | £59.99 | £74.99 |
| Power | USB or Car Power Outlet | Wireless Battery (USB C-Type Charging) |
| Weight | 700g | 800g |
Both models will work with coffee pods (Nespresso shape) or ground coffee, and both come with a fabric storage bag, all necessary cables and accessories.
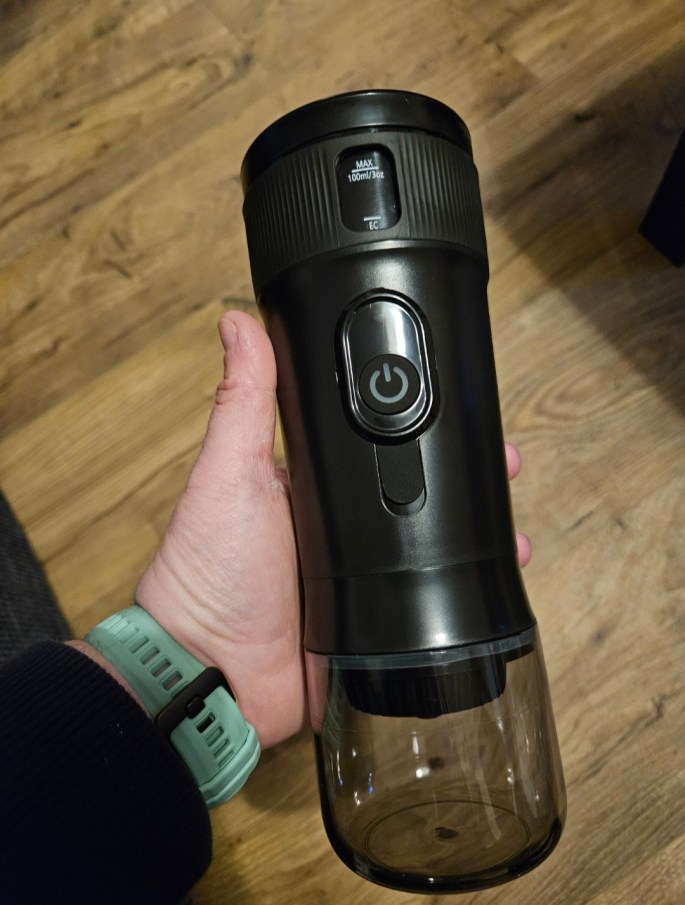
Portable Coffee Maker
The cheaper option of the two, the Portable Coffee Maker must be plugged into a power source to operate. The website claims that it weighs 700g, but it feels incredibly lightweight and I certainly didn’t notice any added weight when carrying it in a backpack. It brews coffee well, especially with freshly heated water, and once the water is hot the brewing process takes seconds.
The main drawback of this model for hikers is that although it will make coffee through the USB of a powerpack comfortably, it is only through the car power outlet that it will heat water itself. Its maximum capacity is 100ml, so I usually take a small amount of hot water in my smallest insulated bottle. Added together, I find it pretty comparable to the weight of a large flask of pre-made coffee, with the added bonus of being fresh quality, but it is understandable that this might put some hikers off. It is great in the summer though as it will make a cold espresso, the strength of the brew is just lessened due to the cool temperature of the water.
Where this product really shines is for camping and road trips. It will take a few minutes to heat up the water through a car outlet, or you can use hot water from a camping stove. This unit has saved me from going without my morning coffee a few times now. I stayed at a hotel in the Netherland that didn’t have coffee, but I was able to whip up a brew in no time with this. When I went camping it also gave me the perfect fresh strong espresso hit the morning after waking up on only a few hours sleep. Lifesaver.
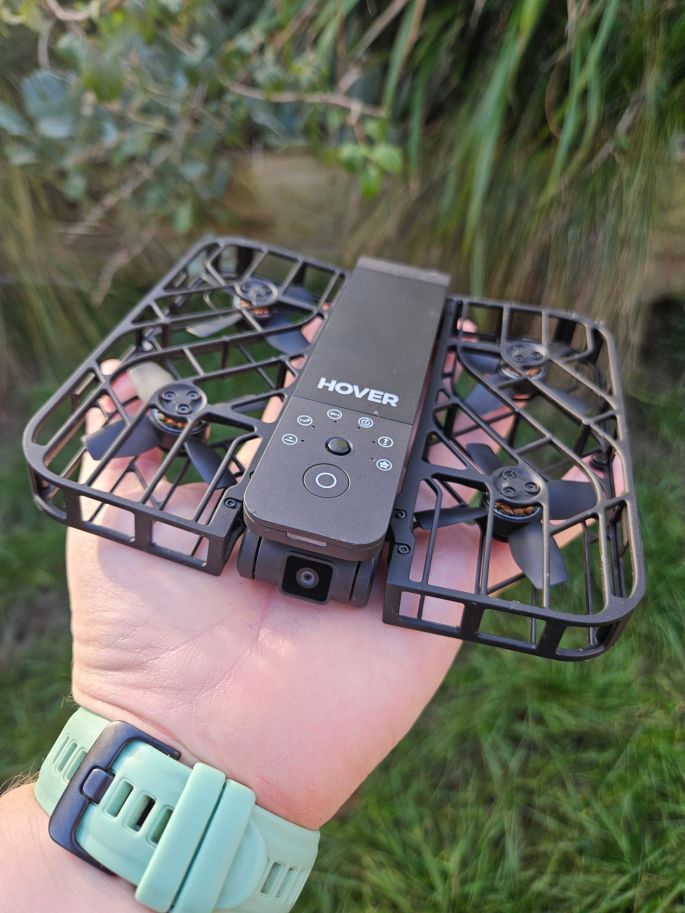
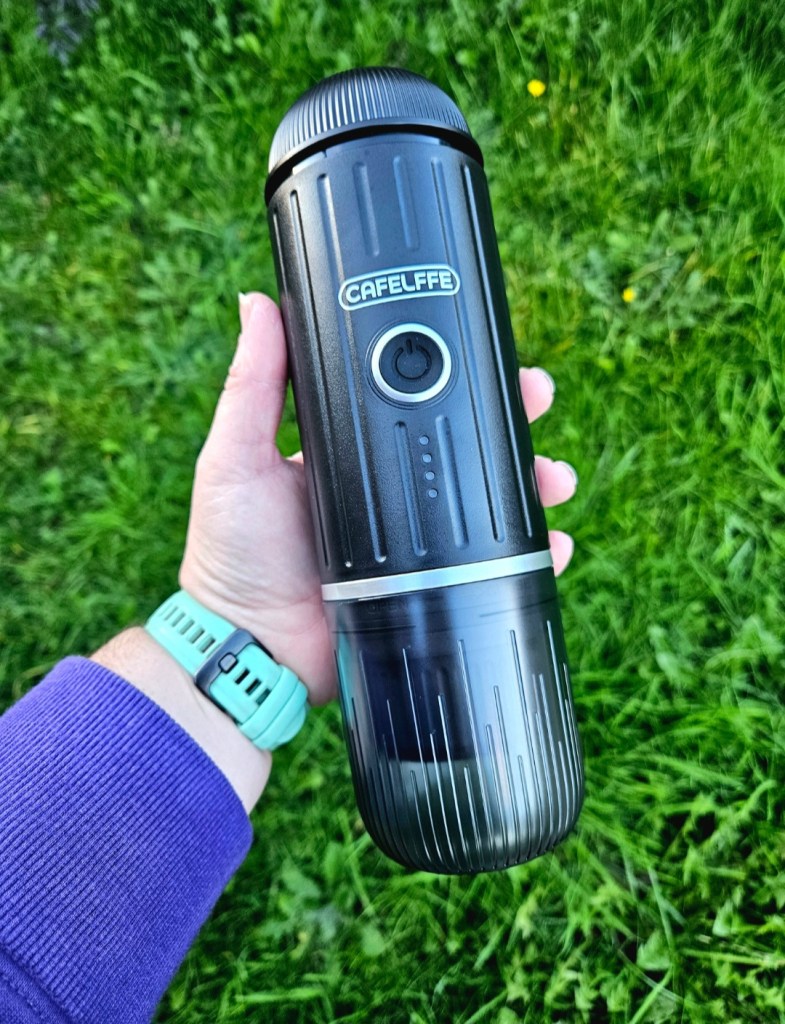
Wireless coffee maker
The Wireless Coffee Maker really improves on the portability as it can heat water for around 4 espressos when fully charged. Espresso Explorer claims it takes around 2 hours to charge completely, and both of these figures seem accurate from my testing. The website also states that it weighs 800g, and it definitely feels heavier than the other option.
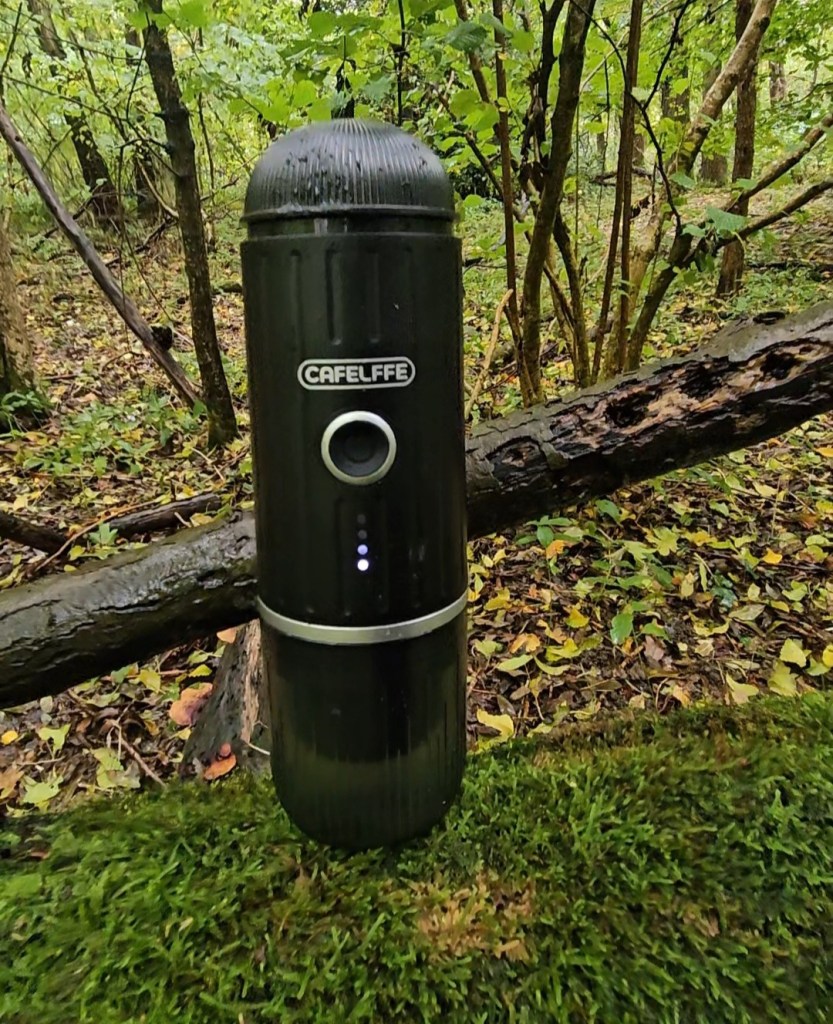
Other than the weight, the only other minor downside with this is that heating the water does take a few minutes so on a group hike you’re probably best bringing a flask to share (or make everyone else envious of your fresh coffee!) otherwise there might be a waiting time for everyone to have a cup. The brewing time itself is just as quick as the other coffee maker, it has a great draw and makes an espresso with a lovely crema that is so welcome mid-hike. Overall, there is very little negative to say about this product from a hiker’s perspective.
price
You’ll notice that I haven’t discussed the cost of either of these coffee makers in this review. As they were kindly gifted to me, I didn’t think that it was fair for me to discuss the pricing compared to the product. However, I will say that they appear to be competitively priced as cheaper coffee makers I’ve seen online don’t seem to have any kind of self-heating capability. I have also seen more expensive wireless options online. Espresso Explorer do occasionally run sales, or you can snag a discount if you choose to use my affiliate link.
Final Thoughts
I can imagine these being the perfect gift for any lover of the outdoors who also loves coffee; a touch of luxury for outdoor living. From the camper who lives for gadgets, to the van-lifer who needs something compact to fit their lifestyle, and the hiker who craves the kick from quality caffeine. If you’re looking to purchase one of these, I would definitely recommend that campers, van-lifers and roadtrippers opt for the Portable Coffee Maker. Hikers who want a brew with a view should go for the Wireless Coffee Maker.
I’ve absolutely loved using both of these products, and the Wireless Coffee Maker is now a staple of my hiking kit. I have also considered taking it to work; the thought of making an espresso from my desk is quite appealing, but I’ll take a fresh brewed coffee outdoors over that anytime!